Ok so I've primarily been targeting edibles most of my fishing career and have gone through many variations of light tackle scratching traces.
The quickest, cheapest and easiest one to make is the No-swivel trace, which has accounted for plenty fish.
http://www.ultimateangling.co.za/index.php?topic=200.0
Problem with this trace is that it tangles quite easily and is difficult to adapt.
Have been doing some strategizing with this the last few months and have come up with a "de-luxe" version...

Using tee-swivels, space tubing and floats etc to provide a variety of options and increasing your chances.
It's a variation of the Helicopter rig, which features 2 hooks.
This is for targeting small edibles like Wave Garrick and Stumpnose, but can be adapted to suit your target species by changing the size of the hooks, floats etc.
The best thing about the 2 hook scratching trace is that you can use different baits on top and bottom hooks, thereby spreading your chances.
You will need:Some ordinary Bait foam.
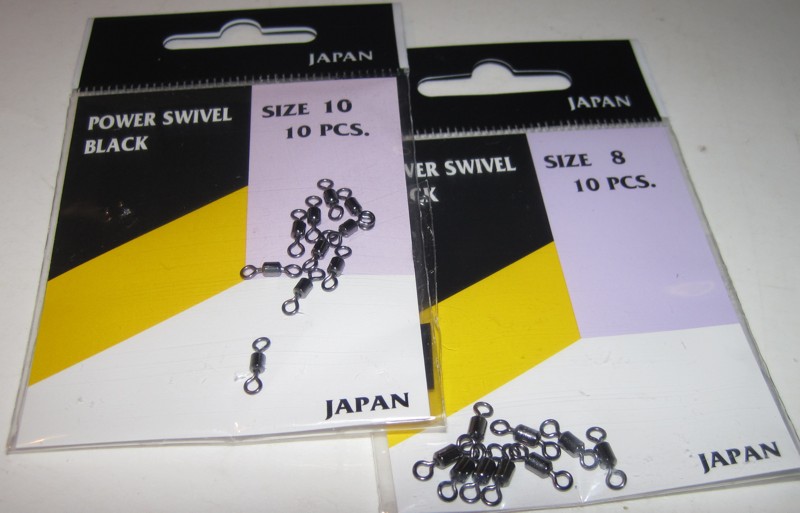
Size 8 or 10 Power swivels
 Daiichi DH55
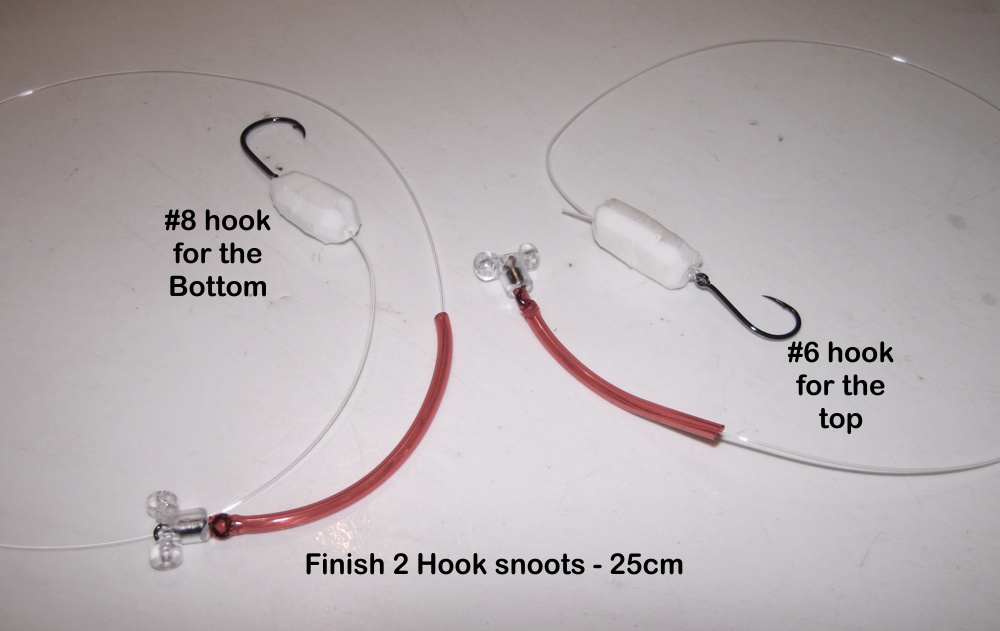
 #6 hook for the top hook and #8 for the bottom.

Some
space tubing as used by Carp anglers. An even better idea would be to use the
Korda anti-tangle tube as used in some of the Freshwater rigs.

Some supple Fluorocarbon. 0.50-0.55mm

Some swivel tees

The Breakaway Swivel tee, which has an oval ring to the swivel. The one's we get in SA are better in that they have a circular swivel eye.
 PROCEDURE
We're going to make the 2 Hook snoots first. Then Attach them to the main snoot later.
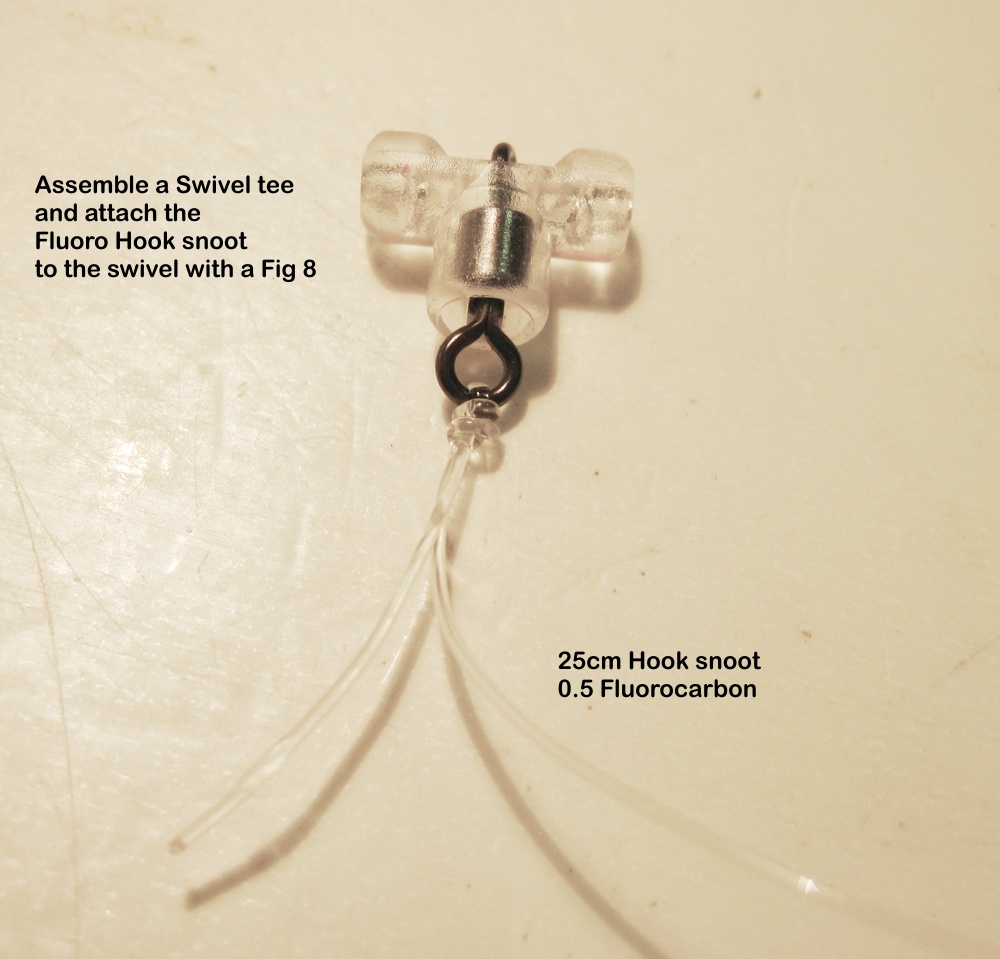
Hook snoots.Use a 30cm long piece of Fluoro. Attach one end to the Swivel tee.
Now slide on a 2 inch piece of Spacer tubing. This is going to keep the Hook snoot well away from tangling with the mainline.
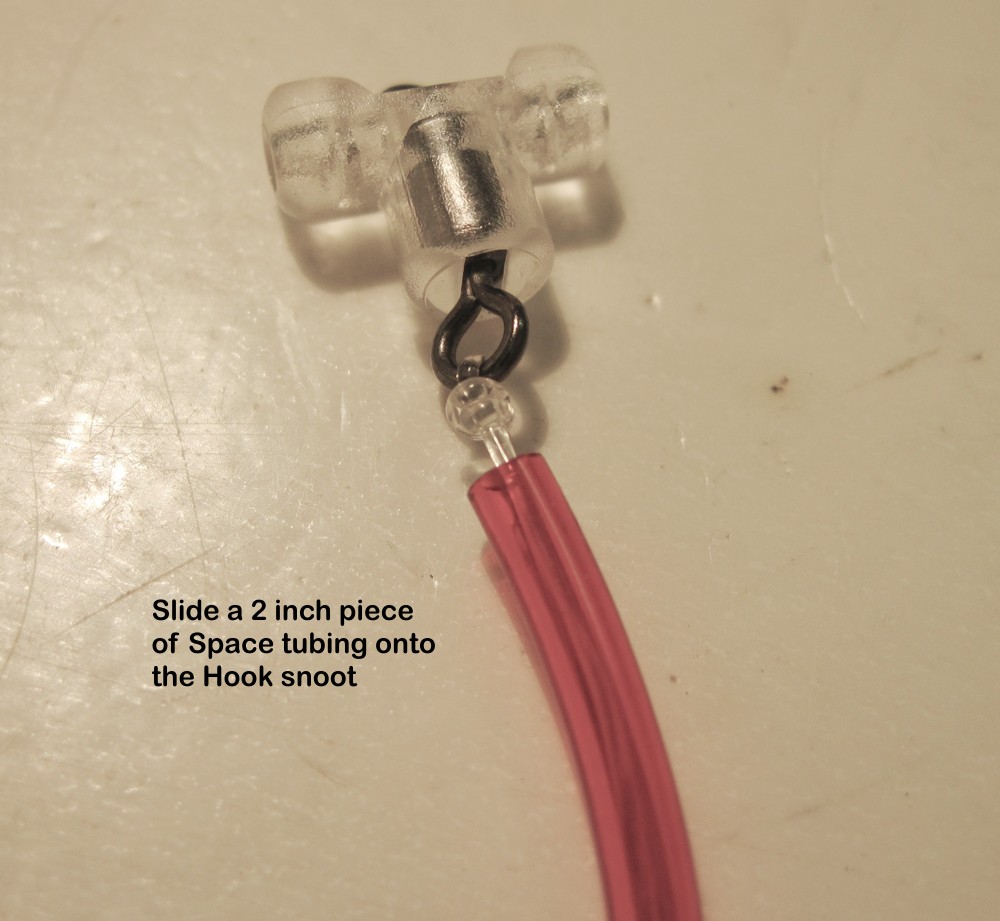
Stretch the tubing over the knot and the eye of the swivel.

Cut a piece of Bait foam 1cm by 2cm. Pierce through the middle. Then trim the foam into a cylindrical, aerodynamic shape.
This bait foam is optional, amd will serve 2 purposes - to get the bait suspended in the water rather than just hanging down;
Also to provide a base with which you can build a bait if a bigger bait is required.
Colour, size and shape of the foam is variable... it just gives you more options.

Slide the foam on, then tie on a DH55 #6 hook. Slide the tag end through the bait foam as well to secure it tighter...
This will be your top hook snoot.
Total length of the snoot should be approx 25cm.


Now make a Bottom Hook snoot, following exactly the same procedure, except use a #8 hook.
Different size hook just gives more variation to the trace by allowing different bait possibilities.
Now cut a 1m piece of Fluoro for your Main Snoot.
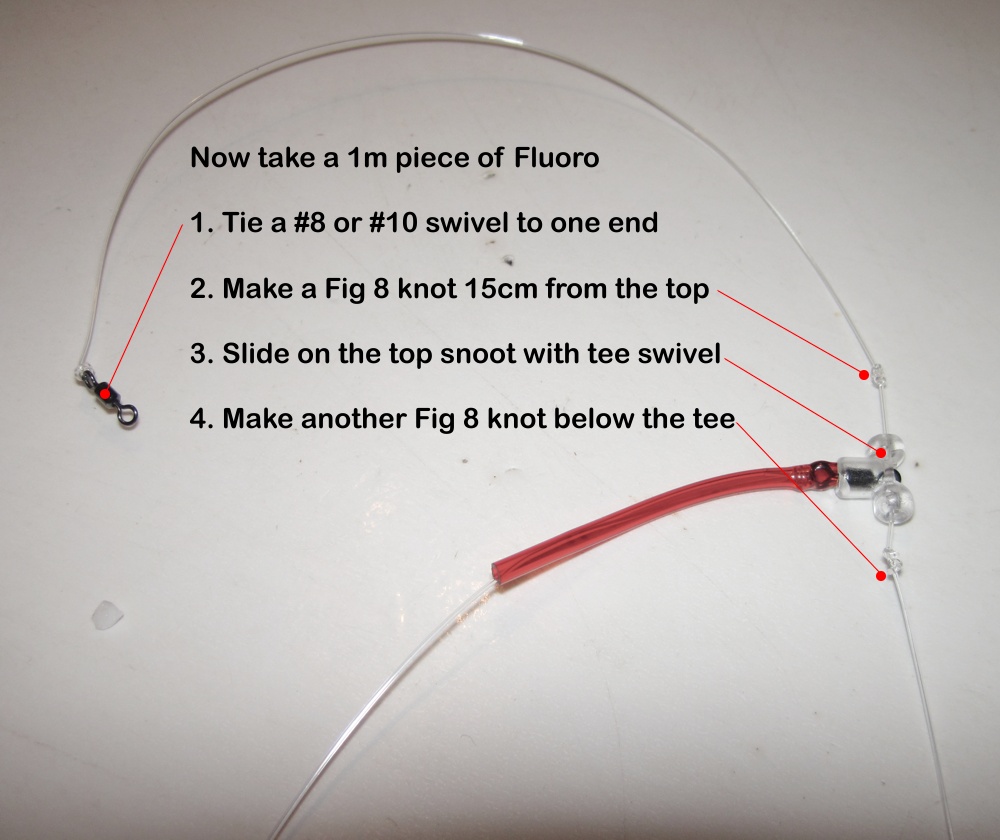
Close up...
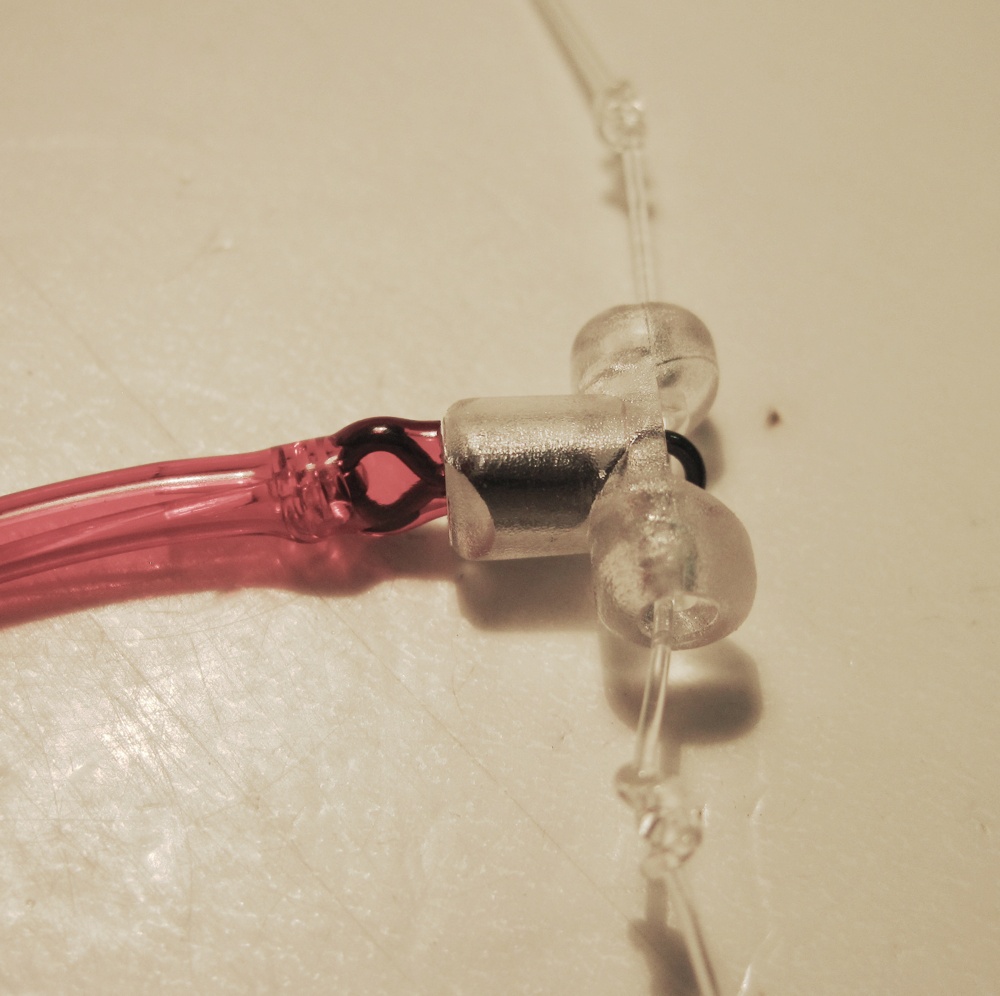
Now about 30 cm down from the top Hook snoot, do exactly the same for the bottom Hook snoot.
Finally, tie a small spider hitch loop at the end of the mainline snoot - this is where you will attach your sinker.
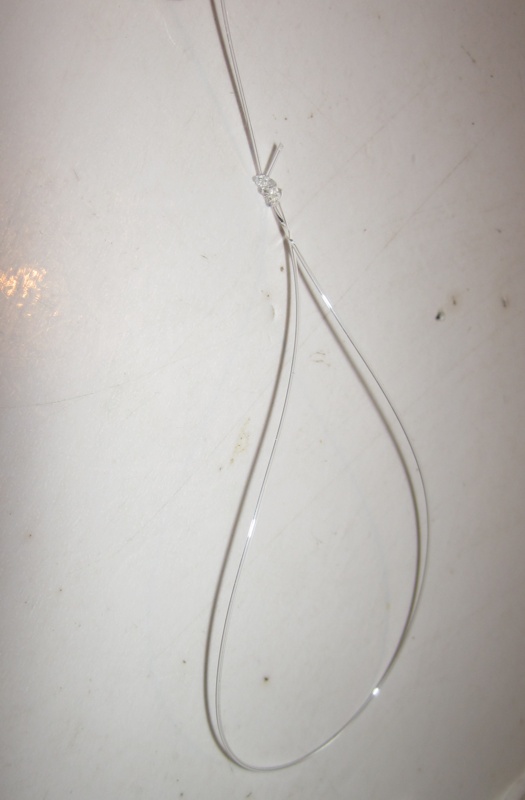
So what it looks like...
Notice that the Swivel tee keeps the swivel perpendicular to the mainline. If only a sliding swivel was used, then the swivel would still hang downwards at an angle, allowing tangles to develop. With the Swivel tee
and the space tubing, the snoot is held well away from the main snoot, making tangles less of a problem.

All done!


